
Robotic bending
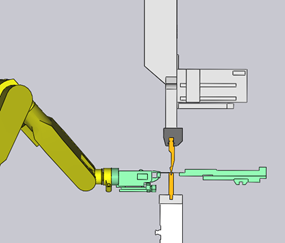
Many of the settings on this panel are the same as for manual press brakes. The robotic bending process has several additional settings and controls that have their own panels.
The image below shows the panels that can be accessed from the Bend panel to configure the added functionality of the robot.
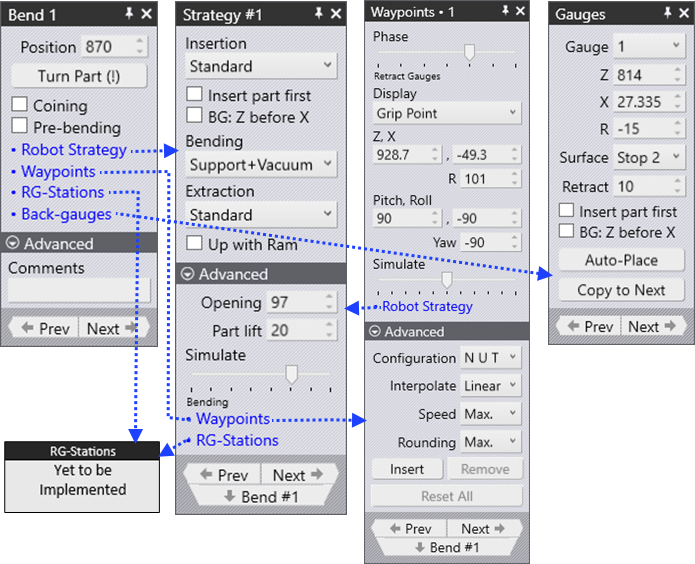
Bend panel
-
The Position setting determines where the bend will occur.
For example, if the machine length is 3000 mm and you enter 1500 mm, the bend will be positioned 1500 mm from the machine’s origin. The reference point for this position can be the center of the die/punch or either the left or right end, and this can be selected as needed. -
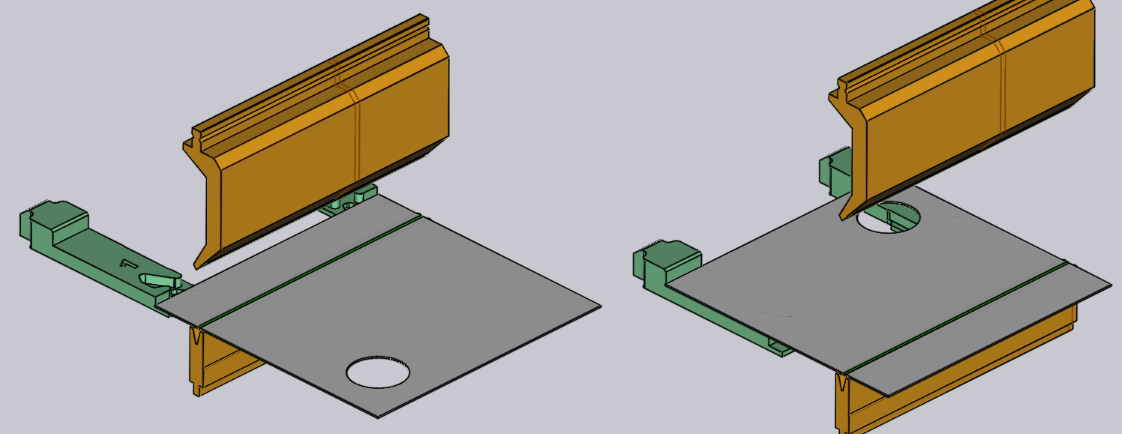
The Turn Part button is used to flip the part (insert it with the other side into the machine).
-
Turn on the Coining check-box to tell FlexCell CAM to use a coining operation. This is enabled only if a coining would be possible (typically, this means there is a coining-capable punch and die that can be used). Coining requires more press force but can result in a tighter bending radius than an air-bending can. Coining also requires that you have a punch and die with the exact angle that is required for this bend operation.
-
Turn on the Pre-bending option to split this bend into two separate operations — a pre-bend, and the finishing bend. By default, FlexCell CAM will move the finishing bend to a position that is just after the next bend in the sequence. Refer Editing a Bend for more on using a pre-bend.
-
The Robot Strategy link takes you to the Strategy panel where you have more precise control over the processing strategy for different phases of each bending operation.
-
The Part Insertion
-
The actual Bending process
-
The Part Extraction
-
-
The Waypoints link takes you to the Waypoints panel where you can have precise control over the robot trajectory during the bending process.
-
The RG-Stations link takes you to the Regrip Stations panel, where you can configure the position of the regrip stations during this bending cycle.
-
The Gauges link takes you to the Editing a guage panel of manual press brakes. Many of the settings on this panel are the same as for manual press brakes. The additional settings specific to robotic bending like insert part first, BG: Z before X are explained in the Part Insertion page.
-
Use the Prev and Next buttons to cycle through editing the different bends in the part.