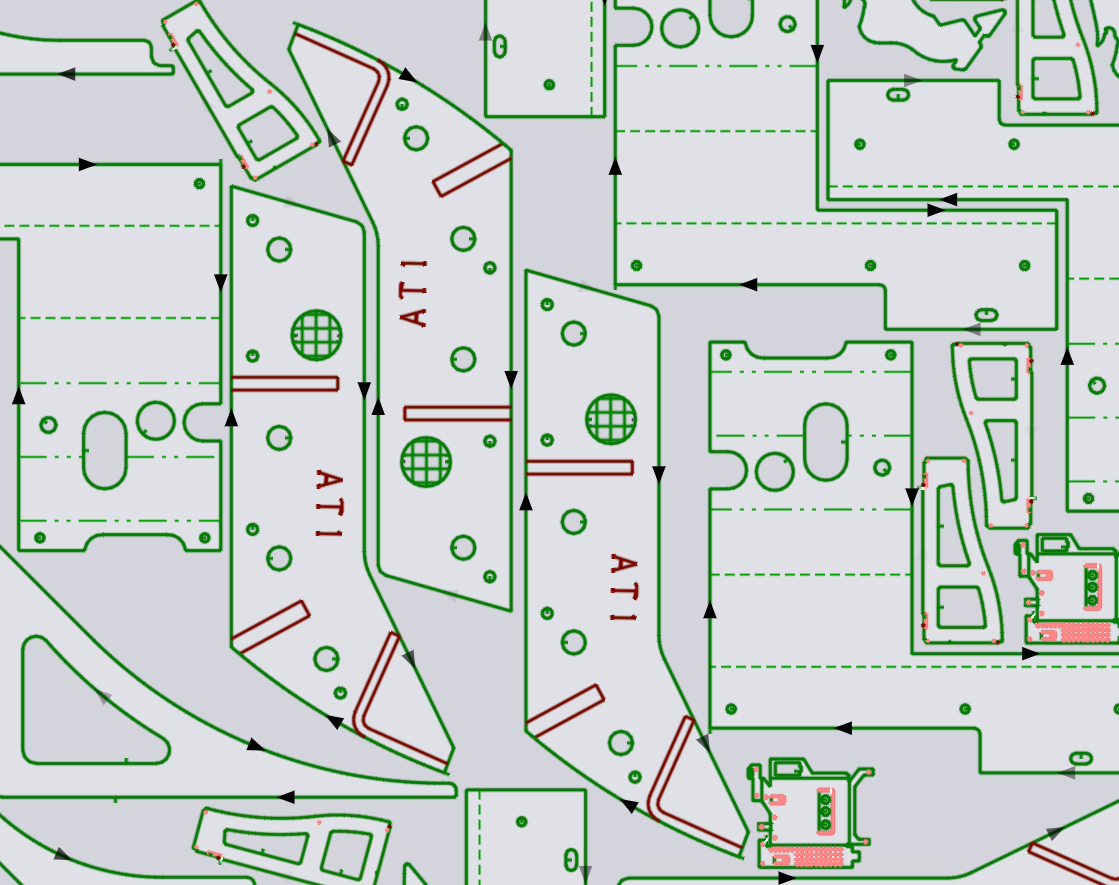
Placement panel
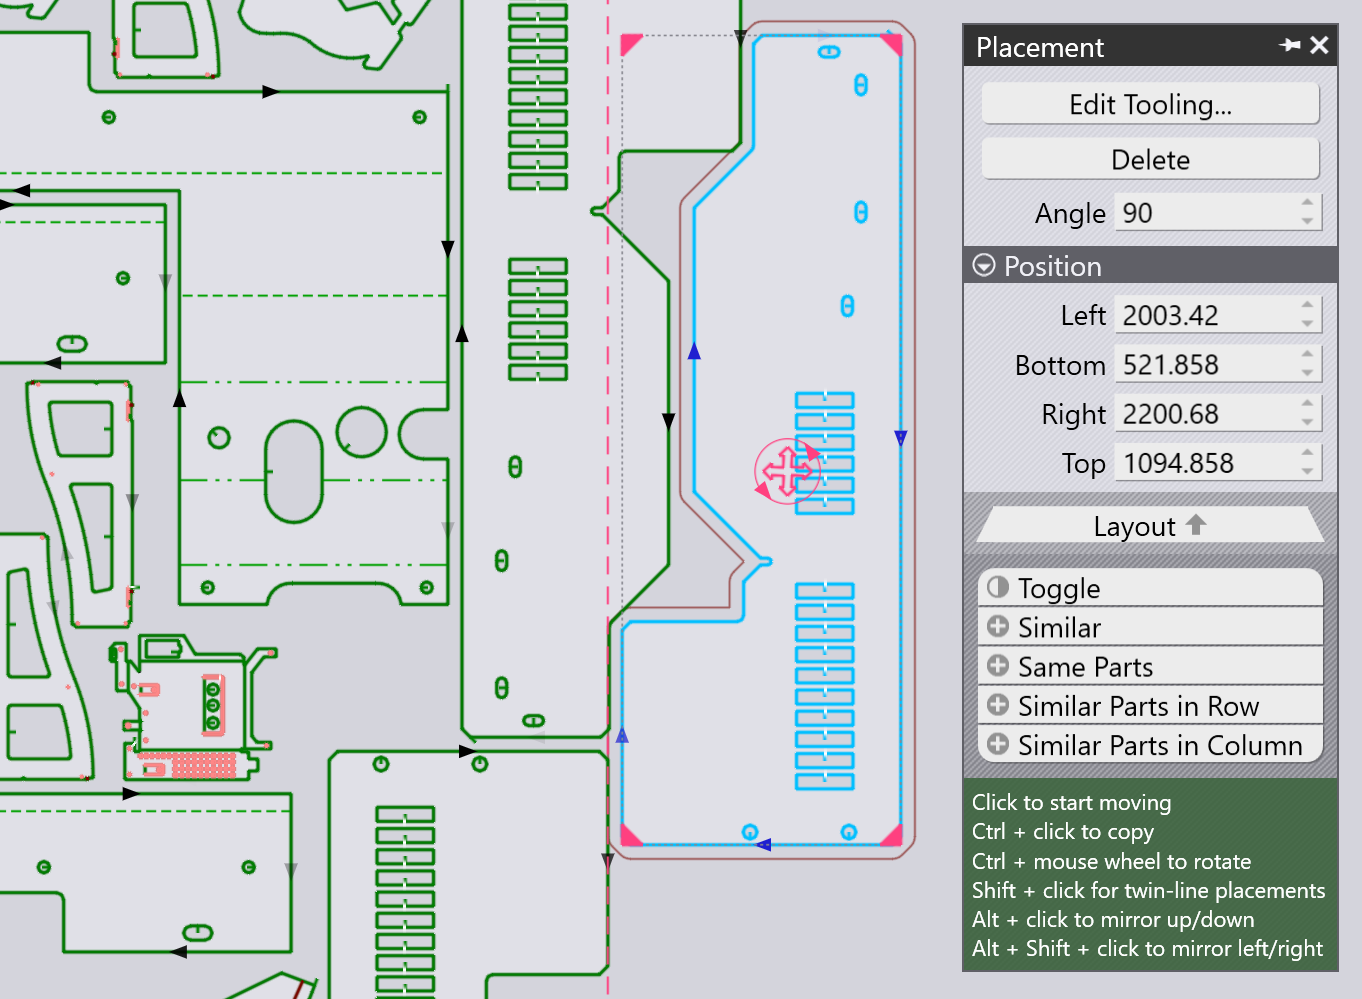
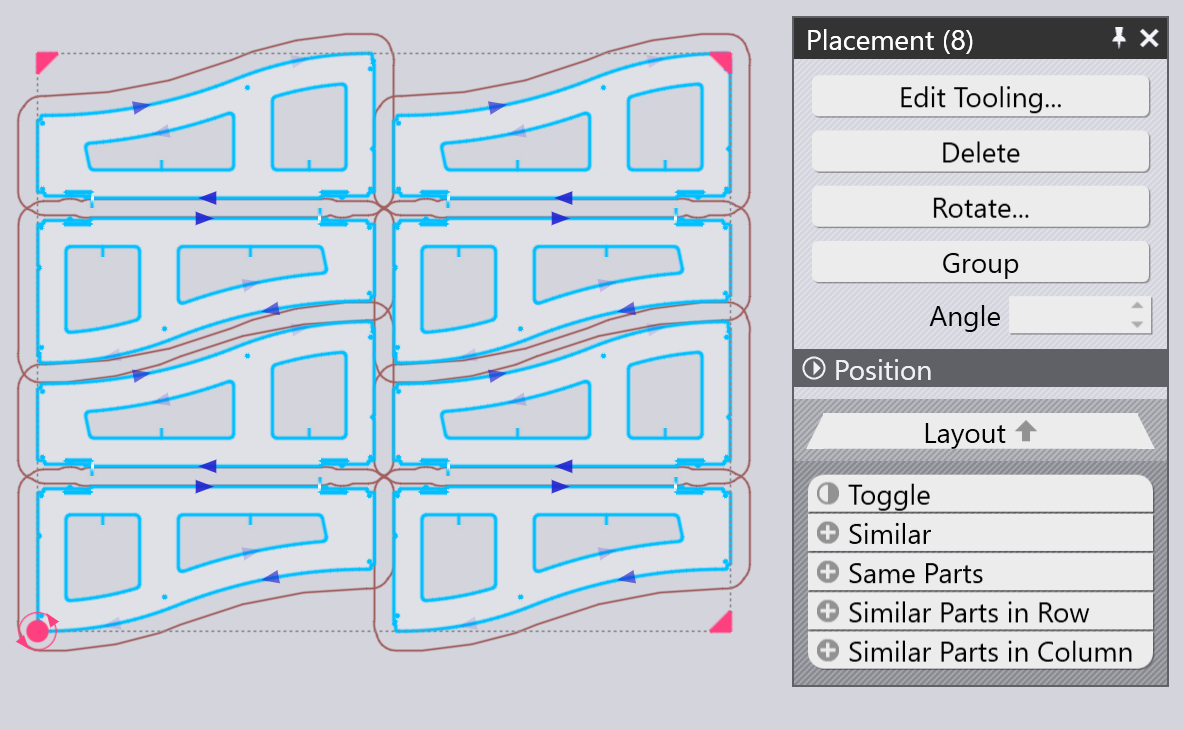
A part that has been added (or any existing part on the layout) can be moved, rotated or repeated with the Placement Panel, which appears when you click on the part:
-
The Left, Bottom, Right and Top settings are the limits of the bounding box of the part, and these can be used to position the part precisely.
-
You can also just click on the red circular handle at the center of the part and start dragging it to position it on the sheet. As you drag the part around, Flux will add snap guidelines to help you position the part with a precise gap (bridge width) to the adjacent parts. While the part is being placed, an outline is also drawn around the part, offset from the actual part contour by the bridge width.
-
The Angle setting can be used to rotate the part so other orientations can be tried out. When you are dragging the part with its drag handle, you can also hold down the Ctrl key and rotate the mouse-wheel to rotate the part interactively.
-
Use Ctrl+Click to make a copy of the part and then start dragging that copy.
-
Use Alt+Click to mirror the part vertically, and Alt+Shift+Click to mirror the part horizontally.
-
There are several Selectors at the bottom of this panel:
-
Click Toggle to deselect the selected parts, and select everything else.
-
Click Similar to select all copies of the same part at the same angle.
-
Click Same Parts to select all copies of the same part (regardless of rotation angle).
-
Click Similar Parts in Row to select all parts at the same angle and at the same horizontal position.
-
Click Similar Parts in Column to select all parts at the same angle and at the same vertical position.
-
TwinLine (common-line) placement
Using Shift+Click to start dragging a part will put the placement into twin-line mode - when you drag two parallel edges close together, Flux will snap them together with precisely one kerf width distance between them, so they can both be cut as a common line. Here’s an example of such a snap happening as we drag a part with Shift+Click:
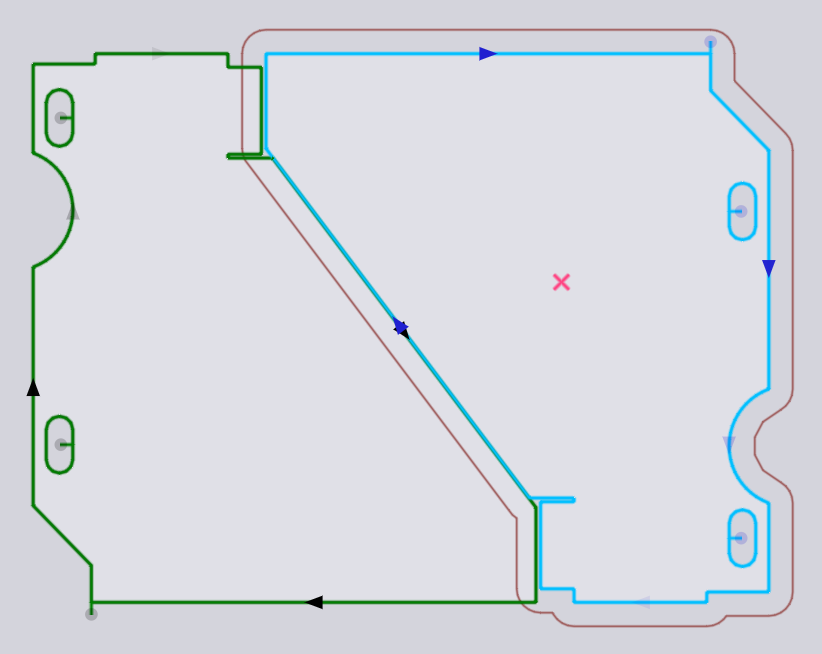
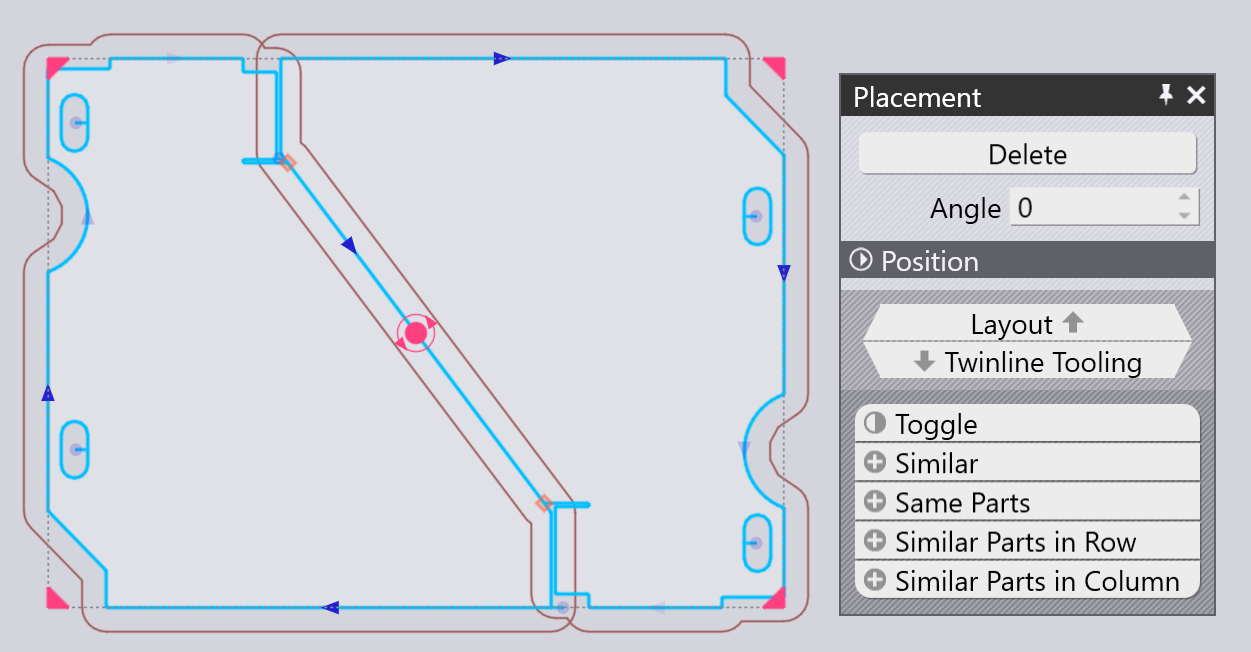
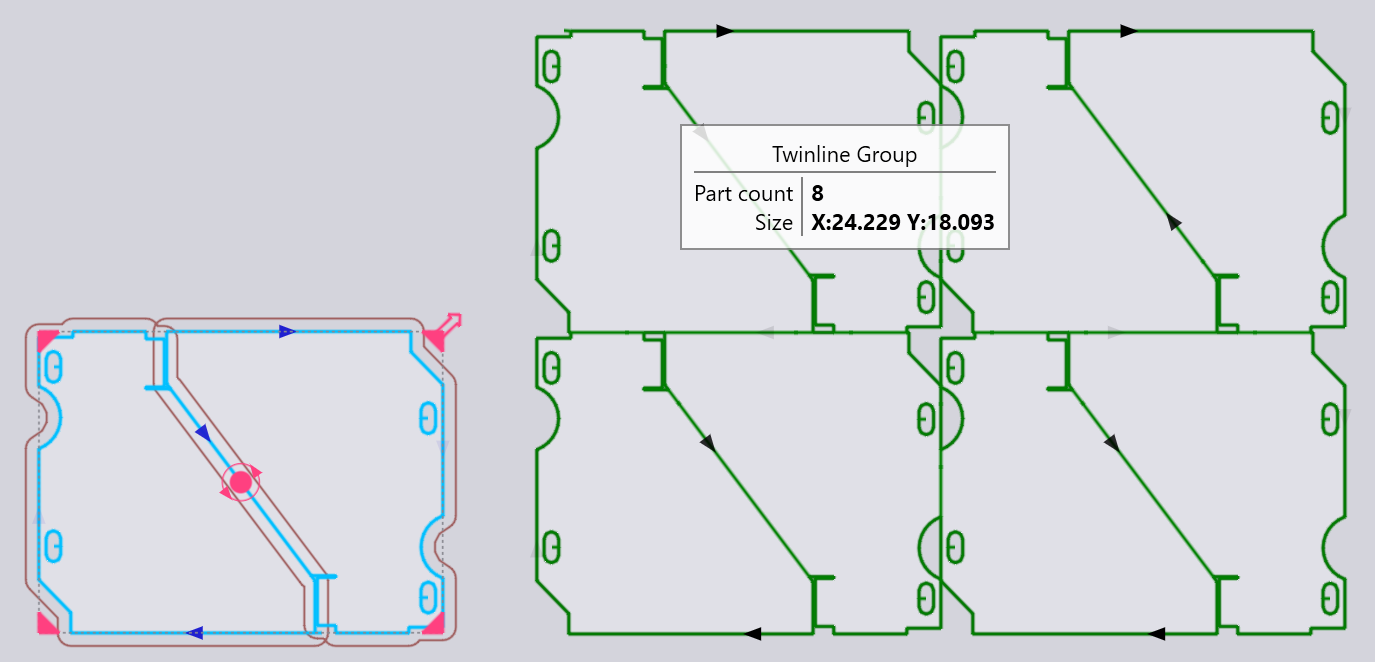
When the mouse is released, the two parts form a single twin-lined group where the shared line is cut only once (you can see that there is only a single cut line arrow at the diagonal line in the middle).
Repeating and grouping parts
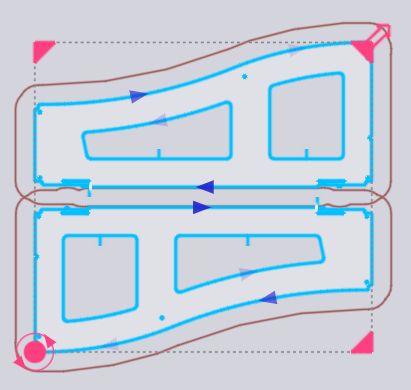
You can select a part, and then use the four handles at the corners of the bounding box to repeat the part. This can be done even with a group of parts that are selected. Here is an example where we start with two adjacent parts selected, and click on the corner handle to start dragging it out:
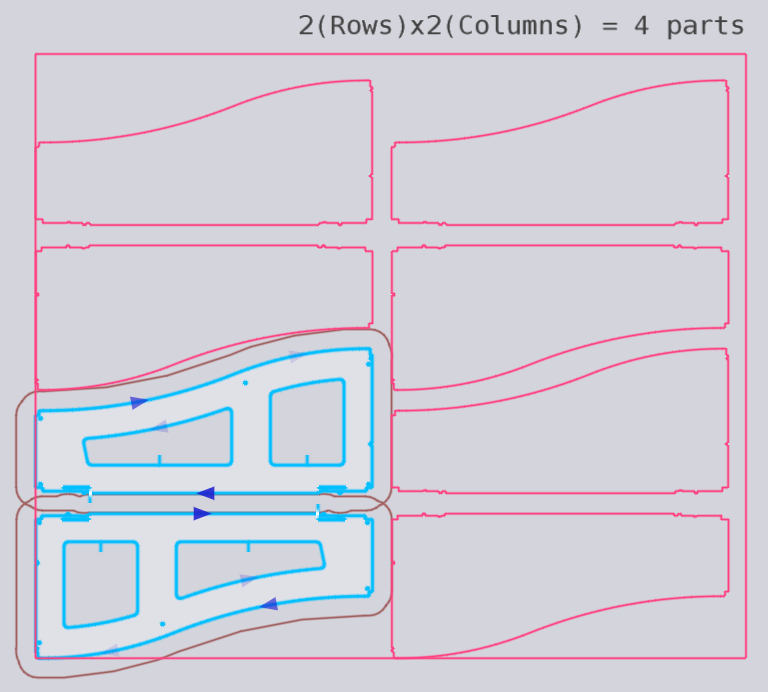
When you have the required number of rows and columns, you can click to insert the repeated parts:
Repeating with TwinLine
If you start with a single part, or a twin-lined unit of multiple parts, you can hold down Shift key while dragging out the corner to do a twin-line repeat:
Stretching a group of parts
You can spread out selected parts horizontally or vertically in the empty space left after nesting. The positions of unselected parts remain unchanged. To do this, first click one of the rectangular handles on the bounding box in the direction you want to spread out the parts, and then drag it to the desired position.
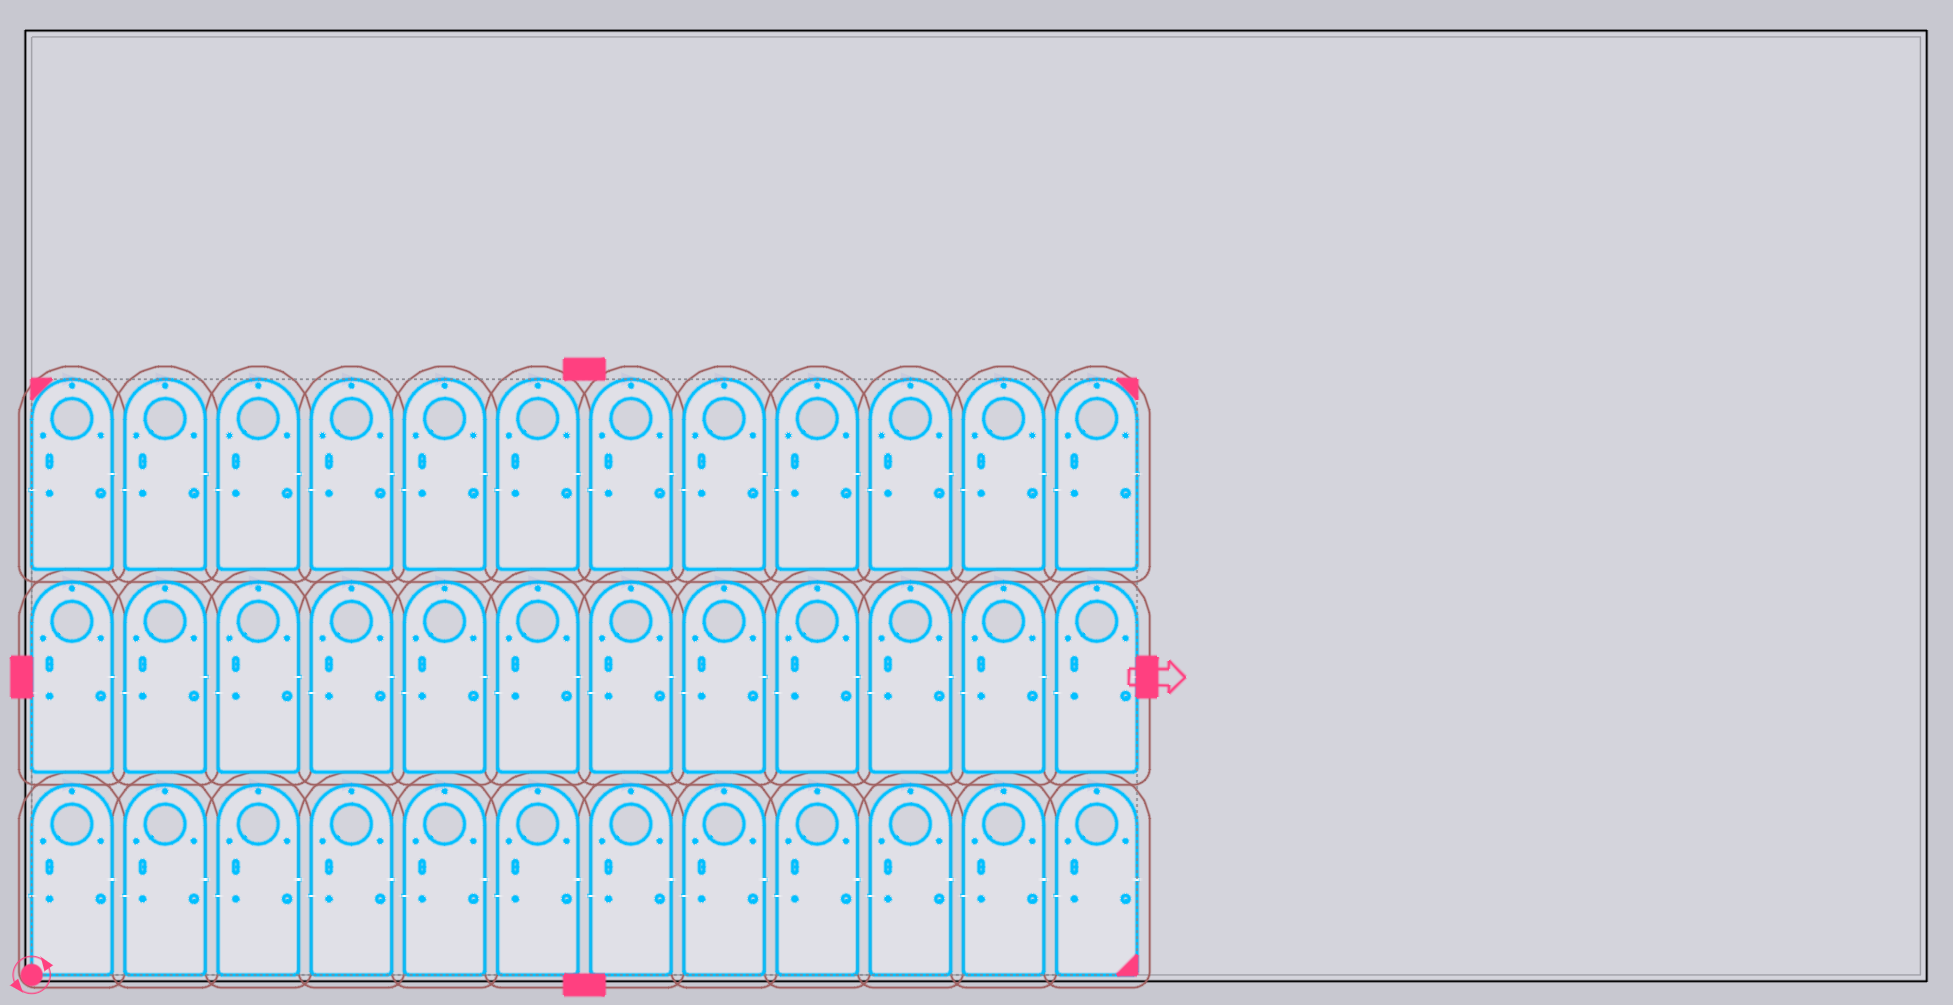
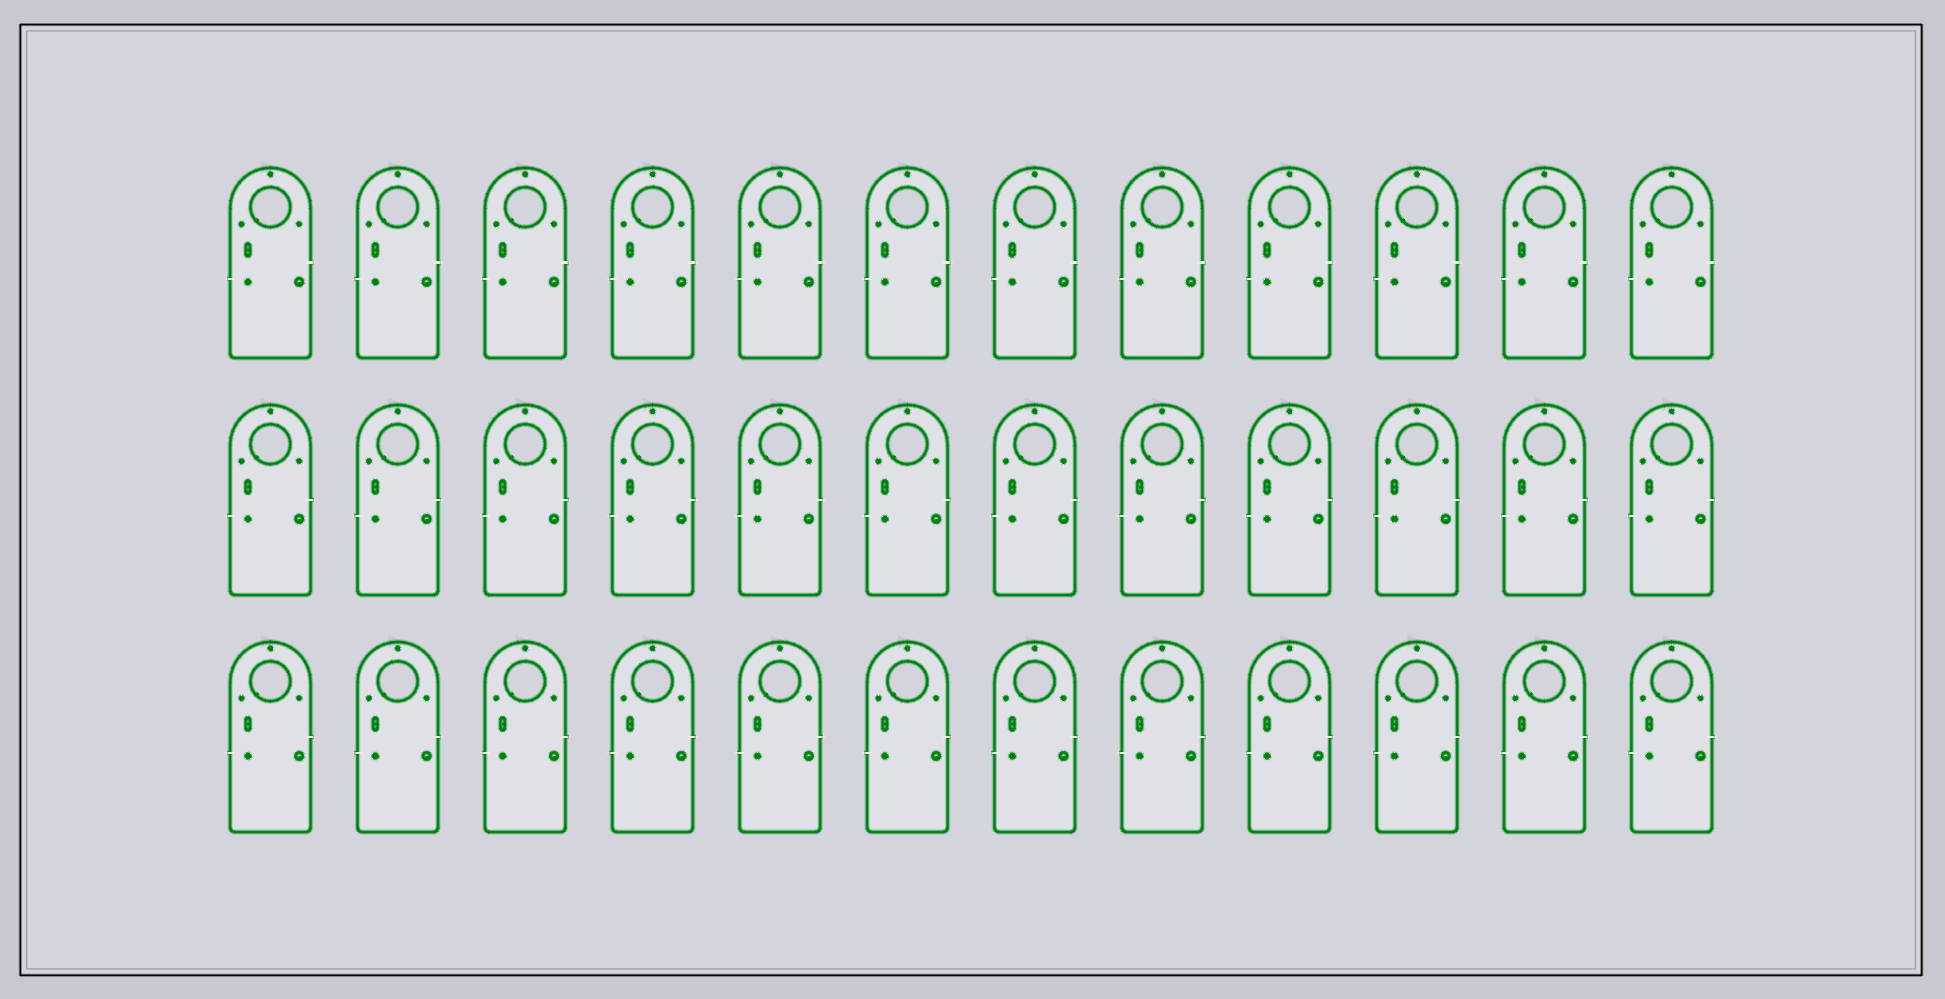
Increasing the spacing between parts improves process safety and helps prevent the laser head from colliding with already cut parts.
Grouping
Whenever you have multiple parts selected you can click on the Group button to group them together as a unit. Then, all operations such as move, rotate, mirror and repeat will work on this Group. When a group is selected, you can click Ungroup to break apart this grouping and treat them as individual parts again.
Edit part tooling
The Edit Tooling button of the Placement panel can be used to adjust the laser cut tooling of one or more selected parts directly in the context of the layout. First, select a group of similar parts that you want to edit the tooling for:
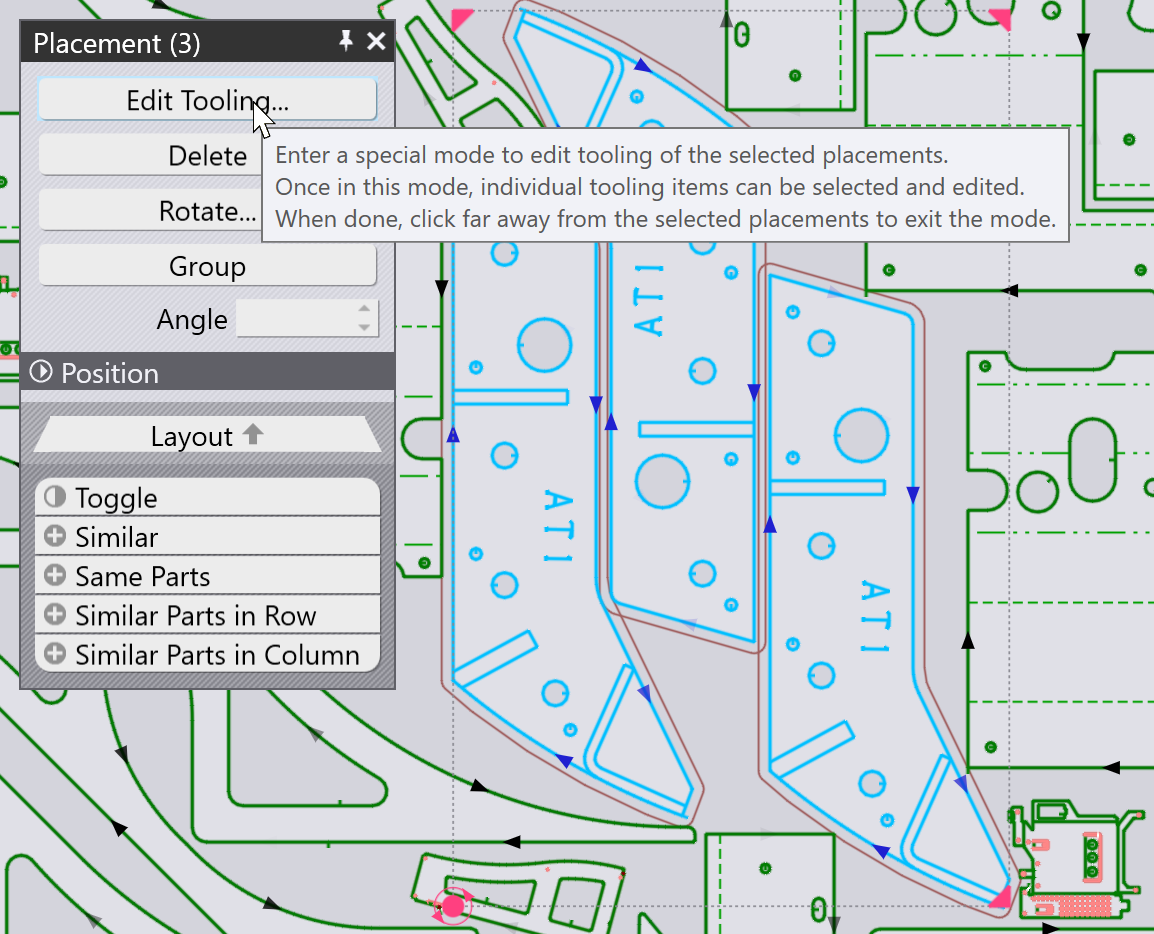
All other parts are grayed out, Flux zooms in on the selected parts, and you can then edit the tooling of the part. In this example, let us assume we want to add a Scrap cutting operation on one of the circular holes to slice up that slug:
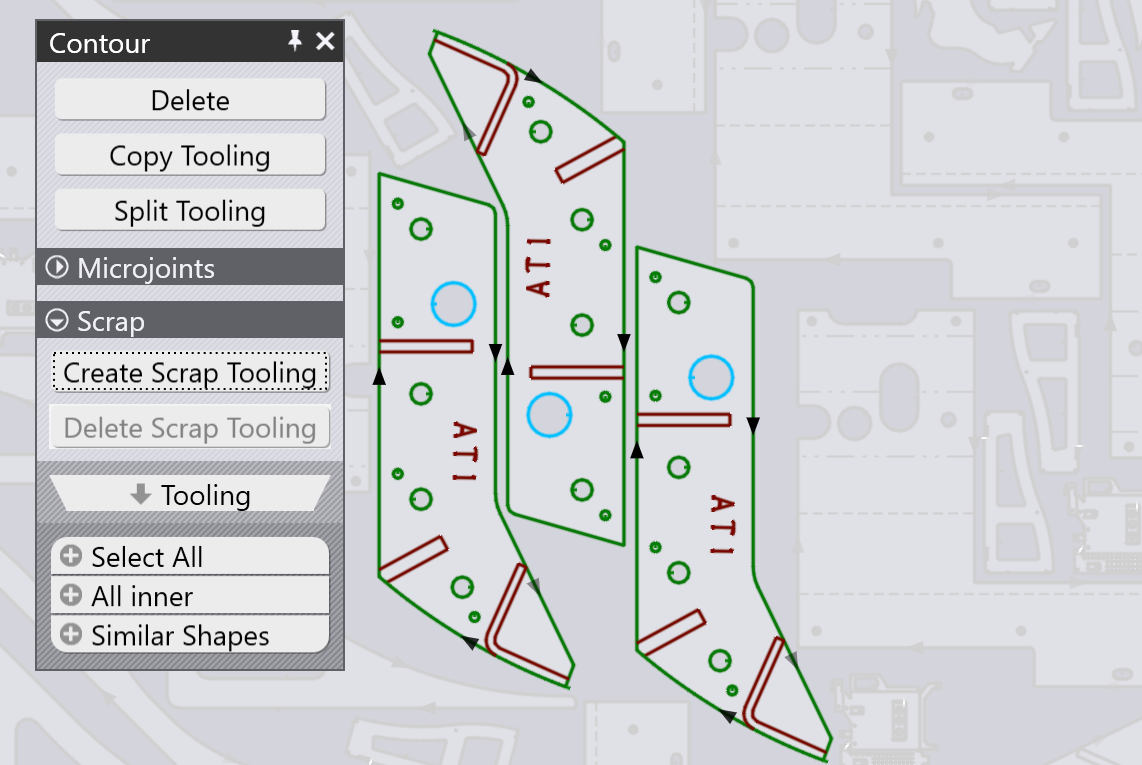
If you do an edit (like adding the Scrap Cutting), you can see that the edit is applied across all the selected parts. Clicking somewhere away from the group of parts being edited restores back to the full layout. You can see that the three selected parts have the scrap cut tooling added to them.